
Multiple Blocks
Managing Multiple Blocks in Advanced File Manager
Advanced File Manager allows you to create, configure, and display multiple blocks based on your specific requirements. This feature gives you full flexibility to design different views and place them across various sections of your site.
Creating Multiple Blocks
You can generate as many blocks as needed directly from the Advanced File Manager settings.
To create new blocks:
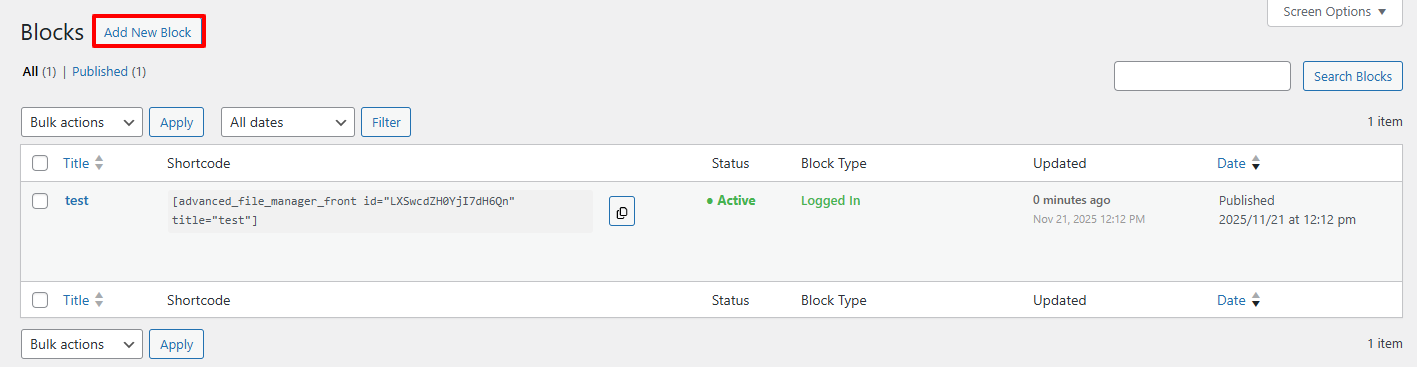
1. Navigate to WordPress Dashboard → Advanced File Manager → Blocks.
2. Click Add New Block.
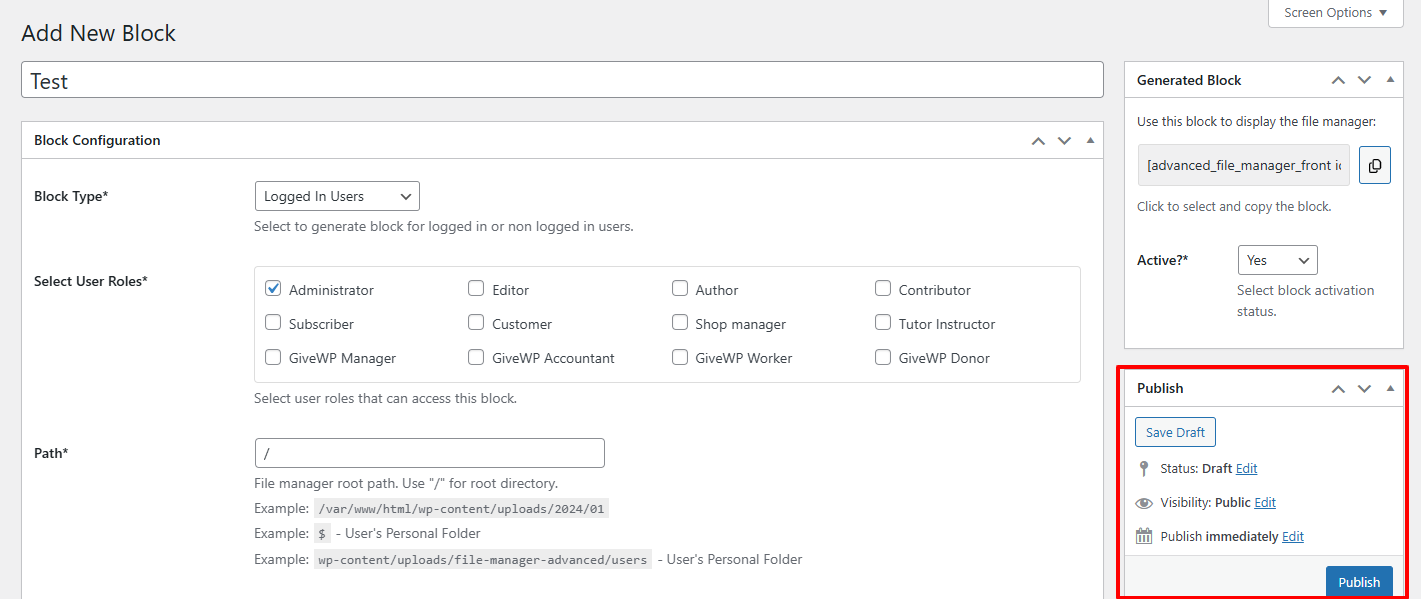
3 Configure the block settings according to your requirements.
4 Publish the block.
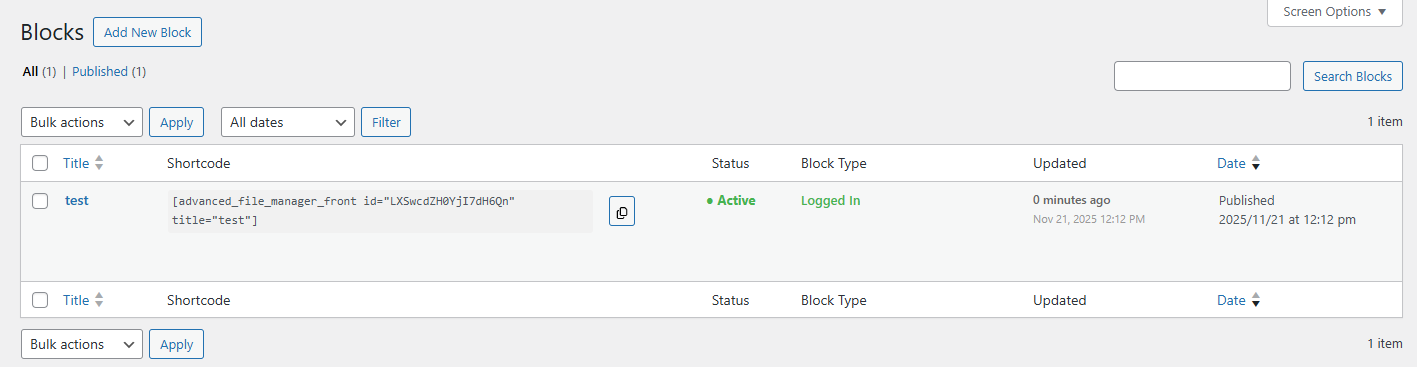
Each block you create will appear in the blocks list, where you can manage or edit it at any time.
Before configuring multiple blocks, we recommend reviewing the documentation for block configuration
This will help you understand all available options and ensure a smooth setup.
Once your blocks are configured, you can display as many blocks as you want on the frontend. Each block will display exactly as configured.
Block List Overview
Inside the Blocks section of Advanced File Manager, you will find a complete table containing all your blocks.
The table displays important information, including:
- Block Title
- Shortcode
- Status (Active/Inactive)
- Block Type
- Updated Date
- Created Date
This block log helps you easily manage multiple blocks and keep track of updates or changes made over time.
With the flexibility to create and manage multiple blocks, Advanced File Manager makes it easy to organize and display customized views across your website. Whether you choose to display blocks via shortcode or Gutenberg, each block reflects the exact configuration you’ve set.
Need help?
If you face any difficulties or experience unexpected issues, don’t hesitate to reach out to our Support Team. Our experts are always ready to assist you, troubleshoot problems, and provide fast, reliable solutions. We’re committed to delivering exceptional support to ensure your workflow remains smooth and efficient.
