

Installation & Activation Guidelines
Advanced File Manager:
Advanced File Manager lets you manage your WordPress site files directly from the dashboard, no FTP or cPanel needed. You can upload, edit, copy, move, delete, and preview files with ease.
To download the Advanced File Manager plugin on your WordPress site follow these steps:
1. Log in to your WordPress admin dashboard.
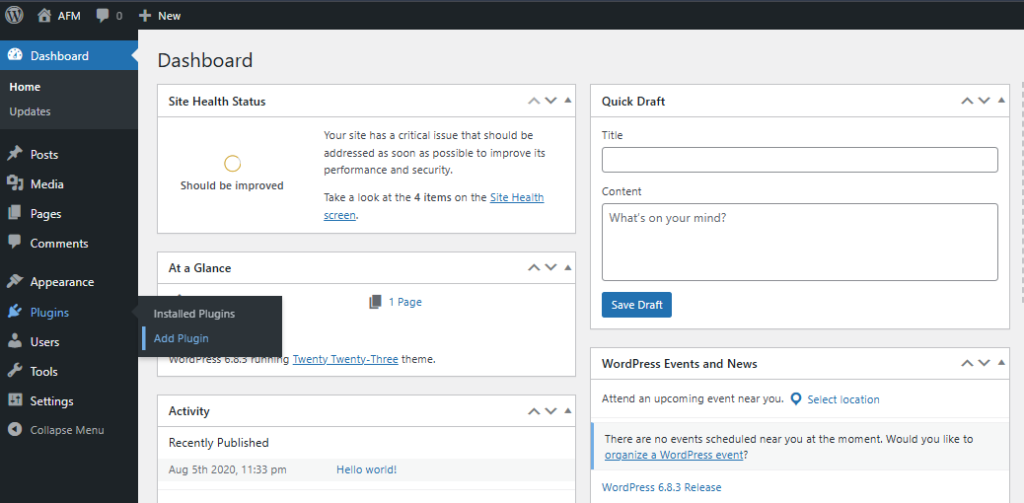
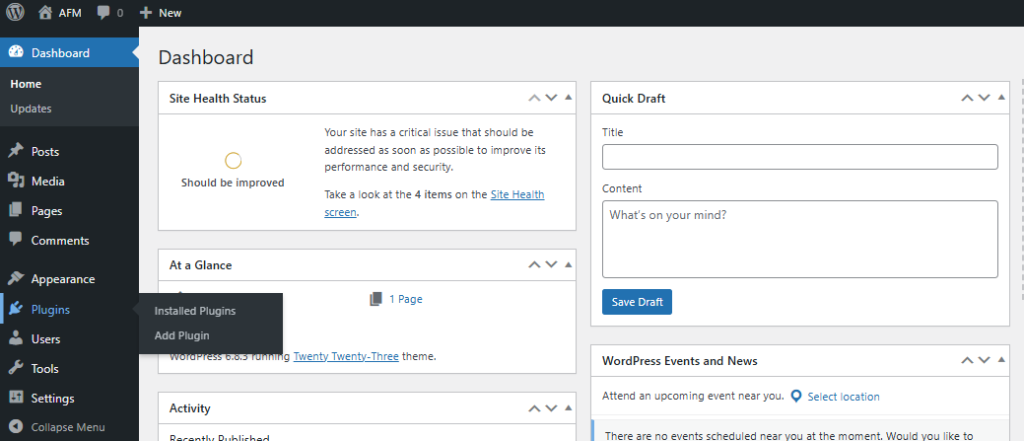
2. Navigate to Plugins > Add New Plugin.
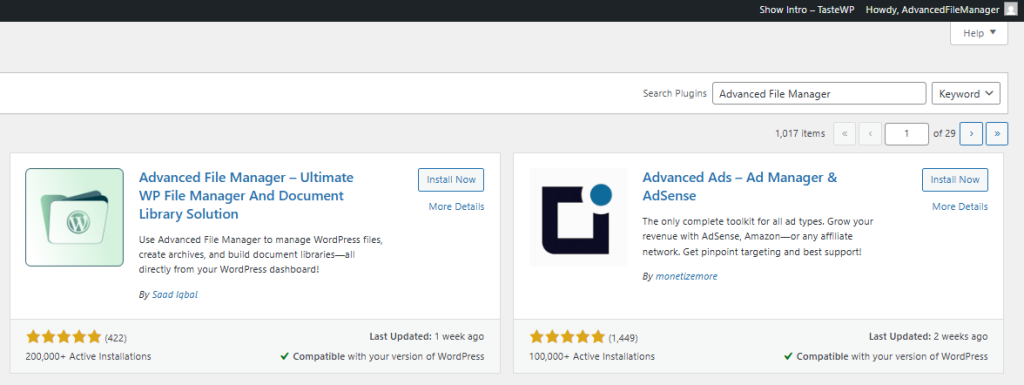
3. Search for “Advanced File Manager” and install the free version.
Advanced File Manager Pro:
Advanced File Manager Pro brings full file control to the front and back end of your WordPress site: from uploading, editing, archiving, or previewing media, to customizable user role based access, role-based permissions, private/public folders, cloud storage integrations (Dropbox, OneDrive, Google Drive), frontend file/library display via Blocks or Gutenberg blocks, and enhanced interface options like themes, views, and large file support.
To download the Advanced File Manager Pro plugin on your WordPress site, ensure you have installed the free version of the plugin first. If you haven’t installed it follow the Installation guide. Once you have installed it follow these steps:
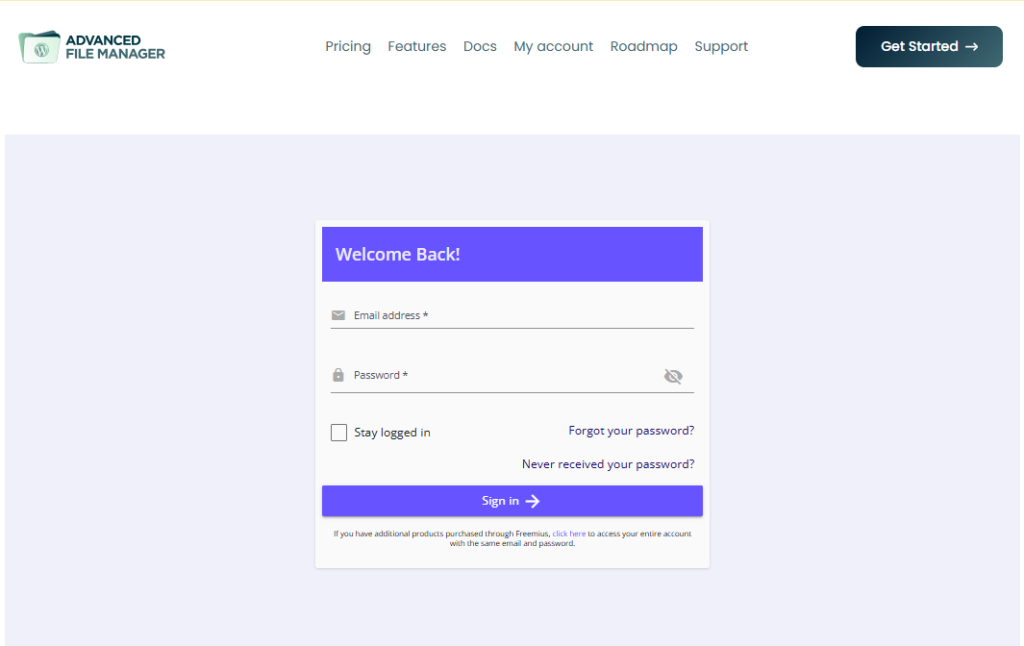
1. Visit User Portal and log in using your billing email address OR follow steps from your Purchase email.
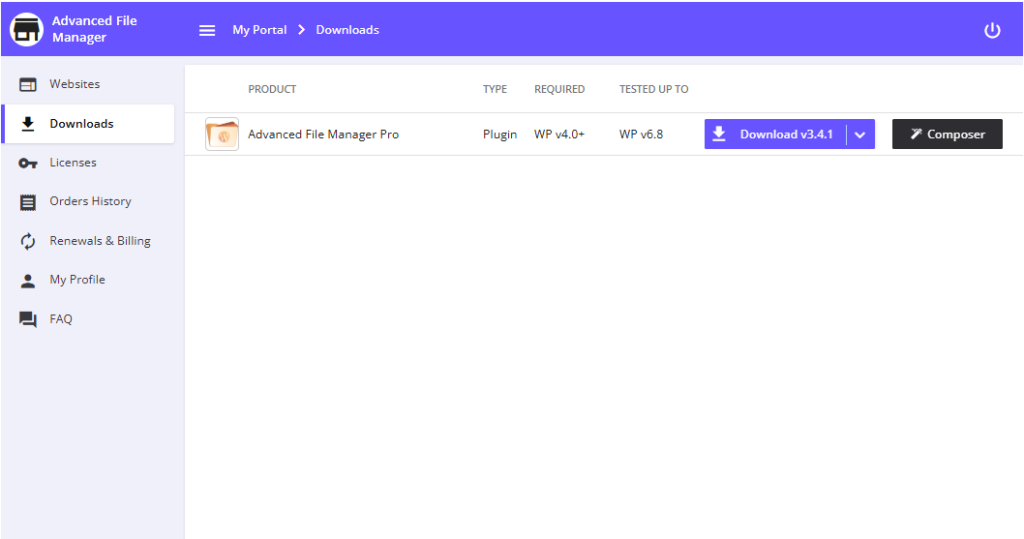
2. Download the Advanced File Manager Pro version from the Downloads tab.
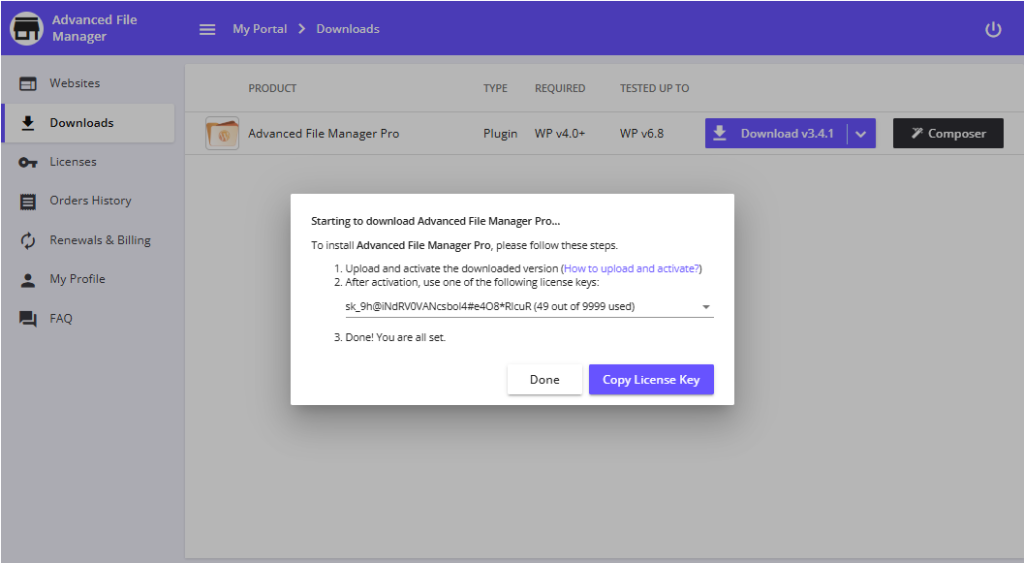
3. Copy & save the License key.
4. Return to your WordPress dashboard.
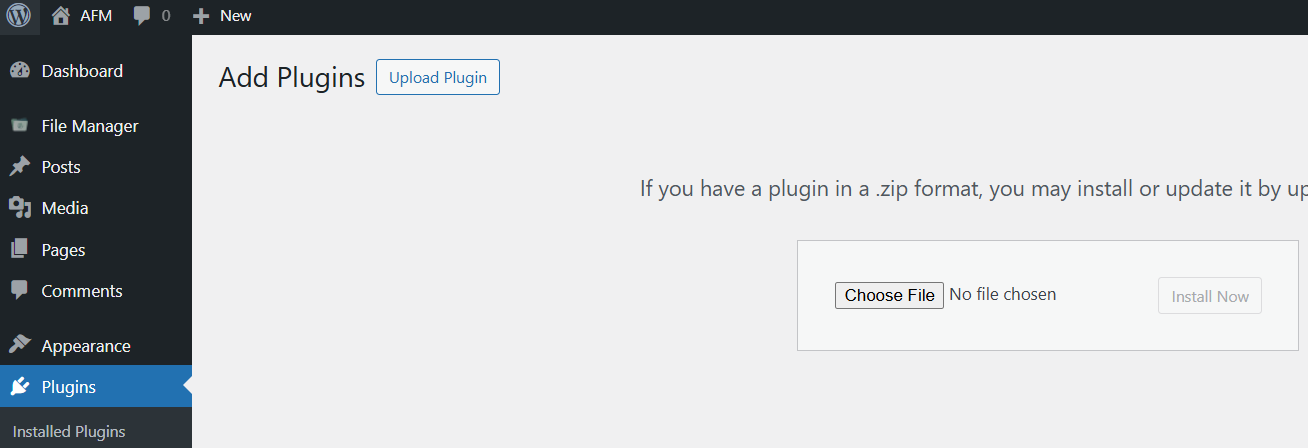
5. Go to Plugins > Add Plugin and select Upload Plugin at the top. Click on Choose File & upload the plugin that you downloaded.
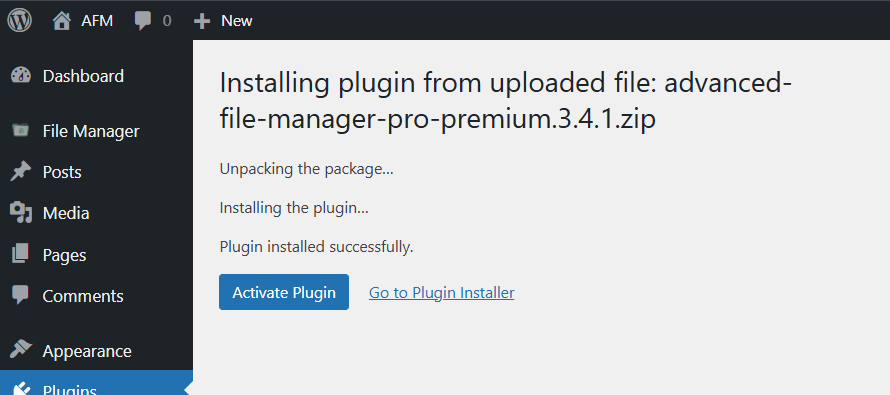
6. Upload the Advanced File Manager Pro plugin, install and activate it.
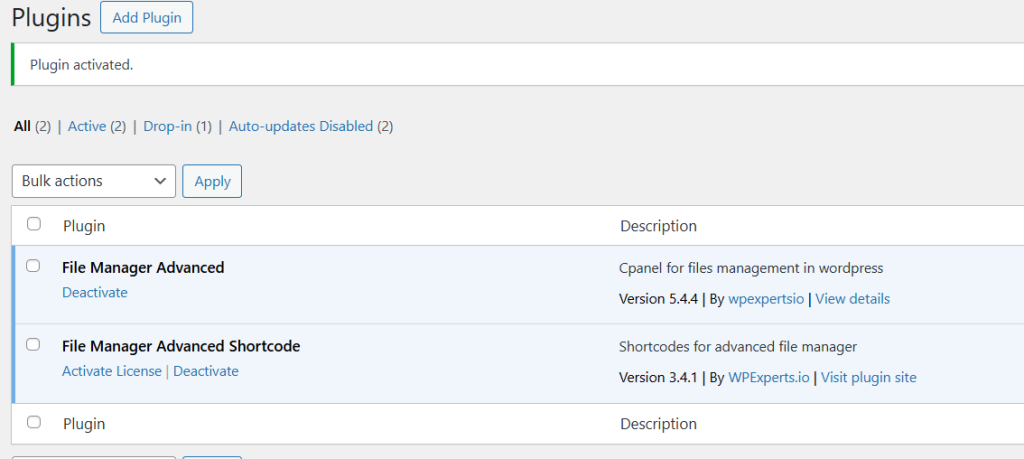
7. Once installed & Activated, click on Activate License.
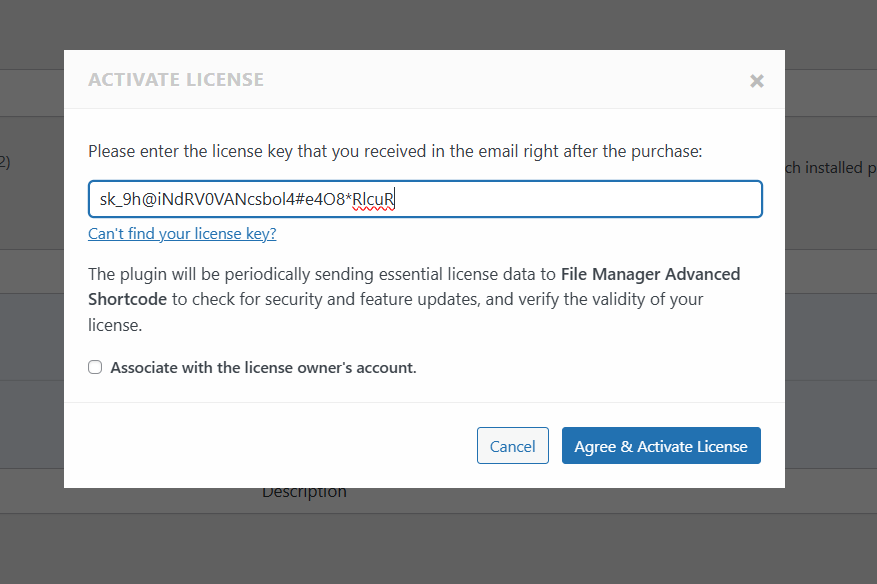
8. Paste the License key copied earlier & click on Agree & Activate License.
Congratulations! You’ve successfully installed Advanced File Manager Pro.
If you encounter any issues during the installation process, please don’t hesitate to reach out to our Support team. We’re here to help.
