You might think that building a document library on a WordPress site is only for a big organization.
However, even if you’re managing downloadable files, sharing client resources, or organizing internal documents for your small organization, an organized document library can save you a ton of time and headaches.
Whether you’re running a membership site, school portal, agency dashboard, or just want a clean way to share PDFs, spreadsheets, or zip files, this step-by-step guide will walk you through how to set up a fully functional document library in WordPress.
The best part? You don’t need any coding knowledge. We’ll use a powerful file manager plugin, Advanced File Manager, to make everything happen, from backend file organization to front-end access for your users.
Sounds great? Let’s get started!
What is a WordPress Document Library?
A WordPress document library is a structured way to store, organize, and share files directly from your website. You can upload documents, organize them into folders, and make them available to specific site visitors.
Unlike the built-in Media Library, which mainly handles images and attachments for posts, a document library is designed for active file sharing and management. You can control who sees what, add upload/download functionality, and even allow users to interact with files without ever going into the WordPress admin panel.
Common Use Cases:
- Schools or universities sharing course materials with students
- Client portals for agencies and freelancers
- Internal resource libraries for team members
- Membership sites that offer gated content
- Churches or community groups sharing newsletters and meeting notes
Why Use the Advanced File Manager Plugin to Create It
If you’re serious about building a document library in WordPress, the default Media Library just doesn’t cut it. You need something that lets you control who can view, download, or manage files without exposing the admin dashboard or forcing users to install third-party tools. That’s where Advanced File Manager steps in.
This plugin transforms your WordPress site into a file management powerhouse. You get a full file explorer interface, right inside your WordPress dashboard. With the premium version, you can bring that same functionality to the frontend for your users.
Here are some of the features that make Advanced File Manager the best choice for WordPress document library creation:
- Drag & Drop Simplicity: Upload, move, or delete files like you would on your computer.
- Frontend Access via Shortcodes: No need to give users backend access—just drop a shortcode wherever you want the document library to appear.
- Role-Based Access Control: Decide exactly who can view or manage files (Admins, Editors, Subscribers, etc.)
- Personal User Folders: Let users access private folders based on their username. Perfect for private file sharing.
- Gutenberg Block Support: Insert your file manager directly into a page with just a few clicks—no copy-pasting shortcodes required.
Whether you’re managing a handful of PDFs or hundreds of folders, this plugin gives you full control without overwhelming your workflow.
3 Easy Steps to Create a WordPress Document Library
Step #1: Install Advanced File Manager Plugin (Free + Premium)
Before anything else, you’ll need to get the core plugin up and running. The Advanced File Manager plugin is available for free and acts as the foundation for everything you’ll do in this tutorial.
Here’s how to set it up:
- Log in to your WordPress dashboard.
- Head over to Plugins → Add Plugin.
- In the search bar, type “Advanced File Manager”.
- Look for the plugin by Saad Iqbal, then click Install Now.
- After installation, click Activate.

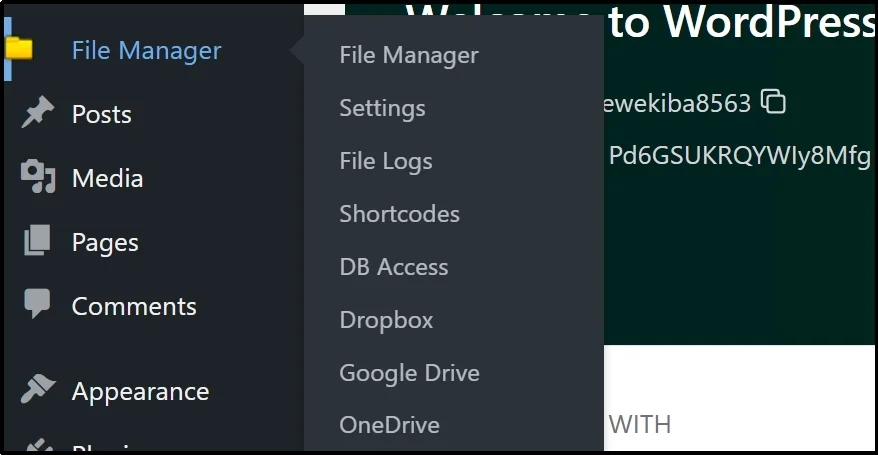
Once activated, you’ll notice a new menu item labeled “File Manager” in your dashboard sidebar. This is your control center.
What You Can Do With the Free Version
- Upload, edit, delete, and move files from your WordPress backend.
- Access all directories and files within your site.
- Preview common file types without downloading.
- Perform basic operations like rename, zip/unzip, and permissions adjustments.
But to build a proper document library on the front end for your users, you’ll need the premium version of the plugin, which we’ll cover next. Follow the remaining steps to learn how to get the upgrade.
- Visit the official website and buy any premium plan. Once you complete your purchase, you will receive an email that includes a ZIP file (named something like file-manager-advanced-shortcode-x.x.zip) and a license key.
- Download the ZIP file to your computer. Don’t unzip it—you’ll need it intact for the upload step.
- Next, go back to your WordPress dashboard.
- Navigate to Plugins → Add Plugin.
- Click the Upload Plugin button at the top.
- Choose the ZIP file you downloaded.
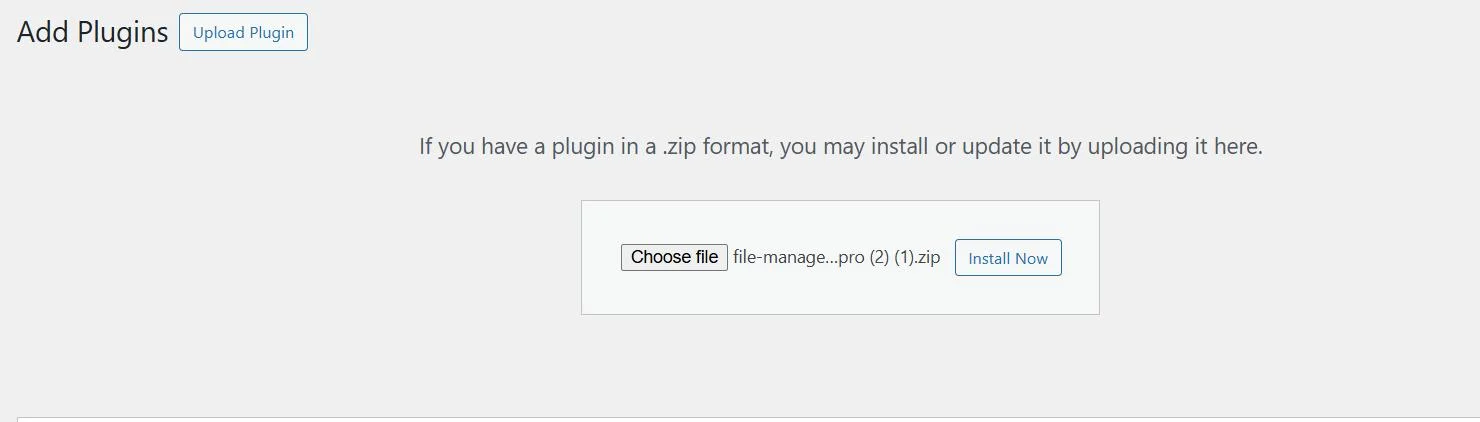
- Click Install Now, then Activate the plugin with the license key you received in the welcome email.
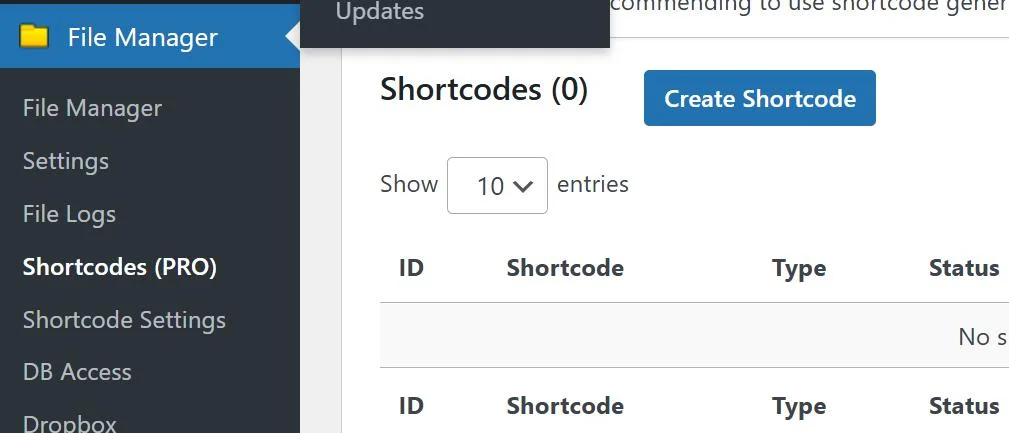
- After activation, you will see the ‘Shortcodes (PRO)’ option as shown in the screenshot below.
That’s it! You’re ready to start creating document libraries that are not only dynamic but also user-specific and role-restricted.
Step #2: Create Your First Document Library Shortcode
Advanced File Manager allows you to create and manage your document library using custom WordPress shortcodes and Gutenberg blocks. These blocks let you control exactly how your document library looks and behaves on the front end.
Let’s walk through the process of creating one.
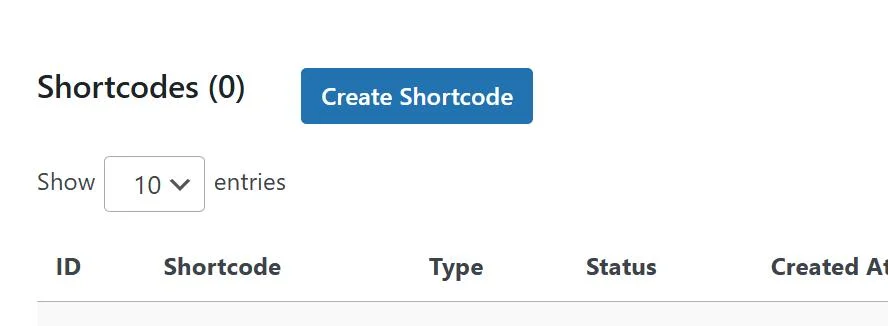
- Go to File Manager → Shortcodes (PRO) from your WordPress sidebar.
- Click the “Create Shortcode” button.
- Fill in the necessary details in the form that appears.
Here’s a breakdown of the most important options:
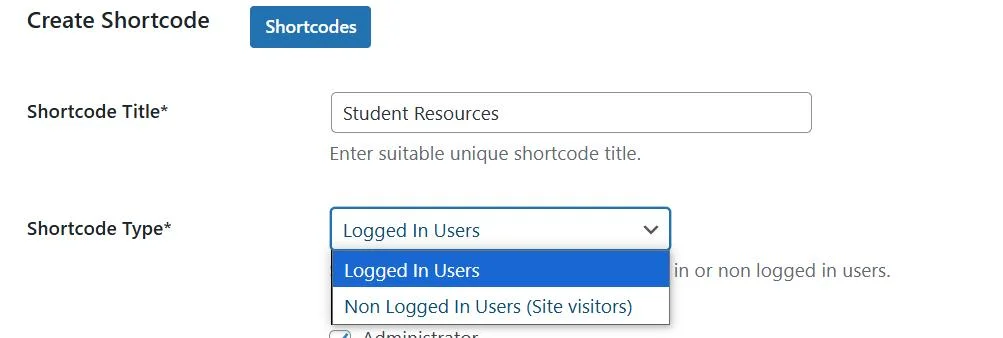
Shortcode Title and Type
Give your shortcode a name. This is just for your own reference, so make it something clear like “Client Docs Library” or “Student Resources.” Also, select between Logged In users and Non-Logged In users.
Allowed Roles
Choose which user roles should have access to this document library. For example:
- Administrator
- Editor
- Author
- Subscriber
- Contributor
You can select multiple roles if needed. If no role is selected, the library will be accessible to everyone.

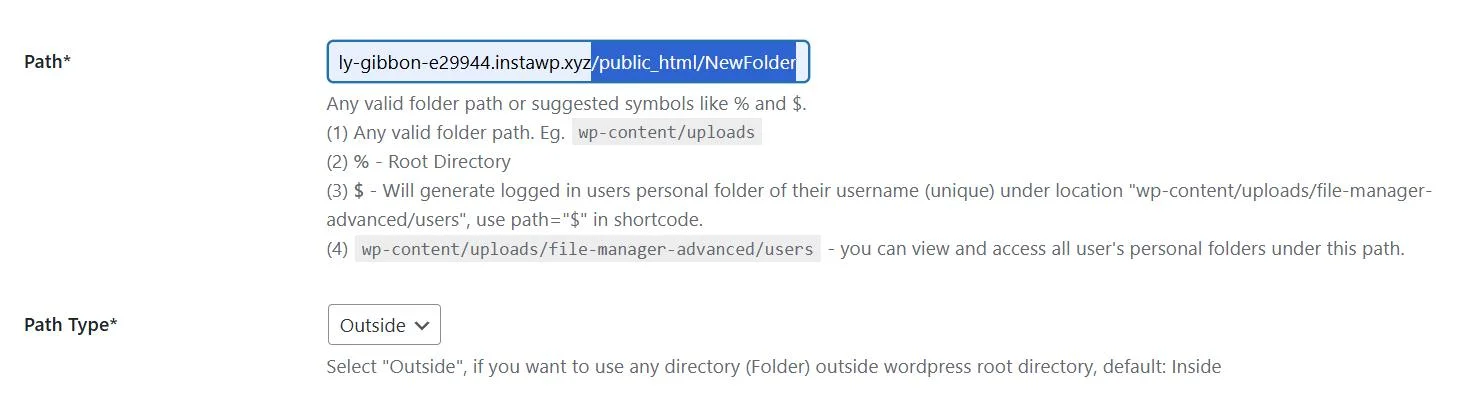
Define Path and Path Type
Set the file path or folder location for this library. You can use:
- % for the root WordPress directory
- $ for user-specific folders (great for private client or user access)
Example: uploads/docs or $ for each user’s personal folder.
NOTE: Access other than root directly. We highly recommend you choose the path type ‘Outside.’
Operations
Pick what users can do inside the document library:
- View
- Download
- Upload
- Rename
- Delete
- Copy
- Move, etc.
Pro Tip: Keep it simple if you’re sharing files with visitors—only enable View and Download.

Blocked Users
Block specific user roles or usernames if needed. This adds an extra layer of security. Ensuring you have complete control over your library and everyone who can access it.
Layout
You can choose between a Grid and a List view, depending on how you want the files displayed. A grid is more visual, while a List offers a clean, structured look.

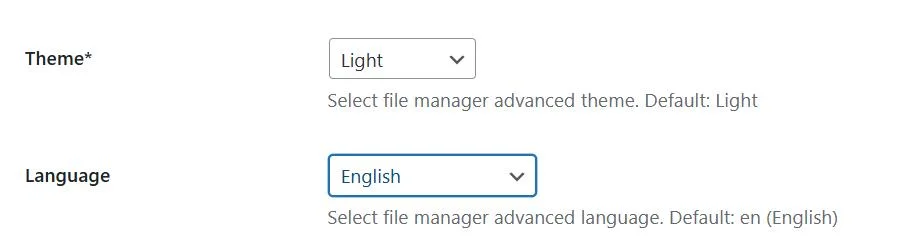
Theme & Language
- Select a theme that matches your website’s look.
- Pick a language for the file manager UI.
Save the Shortcode
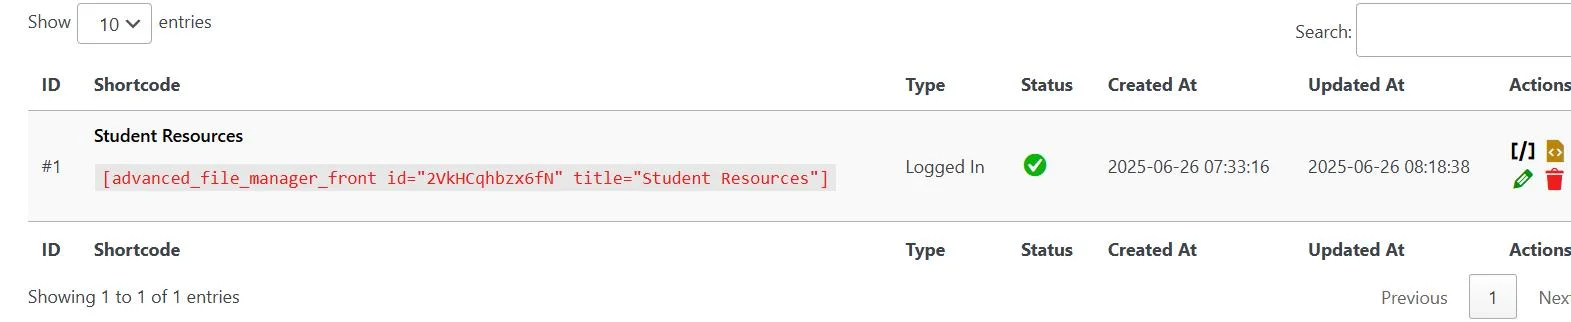
Once everything looks good, click “Save Changes”. The shortcode is now created and ready to be embedded into a page or post.
You’ll see your shortcode in the list, like:
Invalid Shortcode!
You’re now just one step away from displaying your document library on your site!
Step #3: Embed Document Library with Gutenberg or Shortcode
Now that your custom shortcode is ready, it’s time to place your document library on a page where users can interact with it.
You’ve got two simple options here: use the Gutenberg block (if you’re using the WordPress block editor) or manually paste the shortcode anywhere on your site.
Option #1: Using the Gutenberg Block
If you prefer a visual, drag-and-drop workflow, this method is for you.
- Go to Pages → Add Page (or edit an existing one).
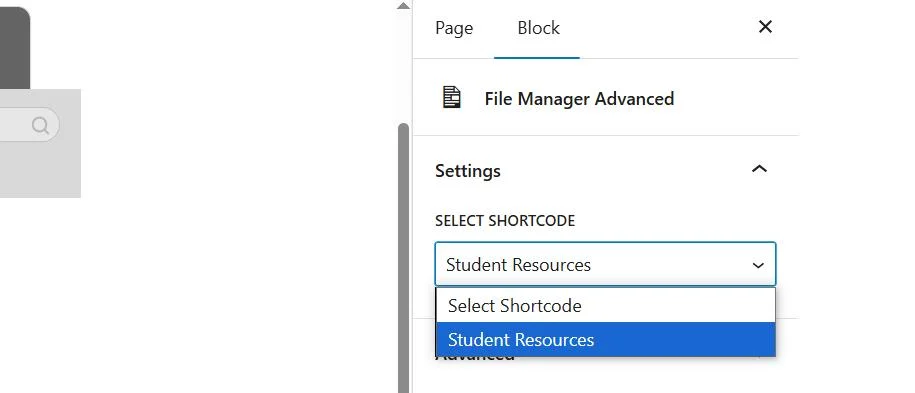
- In the block editor, type /F and select “File Manager Advanced” from the suggestions.

- Once the block appears, head to the right sidebar.
- Under Shortcode Settings, choose the shortcode you created earlier from the dropdown list.
- Give your page a title like “Document Library” or “Team Files”.
- Click Publish, then View Page to see your live document library.

Your users can now access files right from the front end—no login to the back end is required.
Option #2: Paste the Shortcode Manually
Prefer the classic editor or using a page builder? No problem.
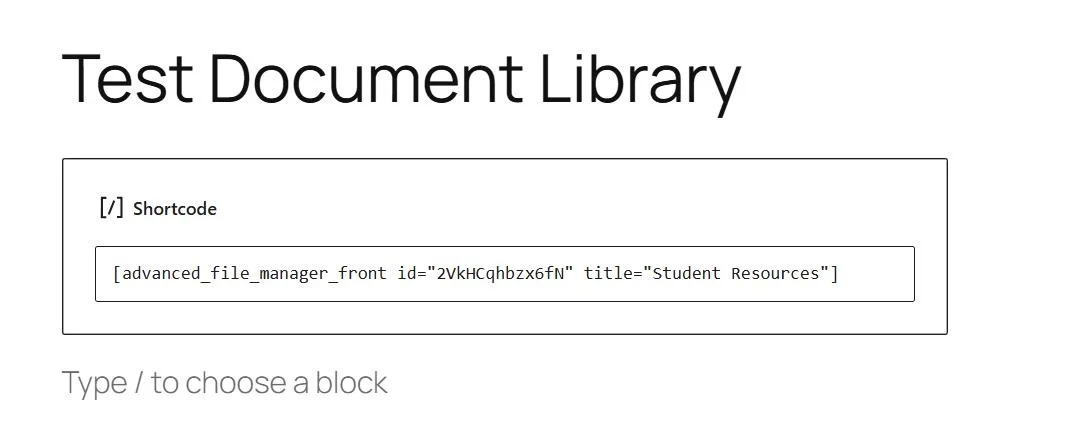
- Copy the shortcode you created earlier (e.g., [filemanager-advanced-shortcode id=”123″]).
- Paste it into any WordPress page, post, or even a widget area.
- Save or publish the page.
You’ll get the same fully interactive file manager right where you placed the shortcode.
Final Output: How It Looks on the Frontend
Once you’ve created the shortcode and embedded it into a page, your WordPress document library goes live. You get an interactive and user-friendly file manager interface that looks professional and works across all modern devices.
What Your Visitors See
Depending on the layout you chose (Grid or List), your visitors will see:
- A clean file explorer with folders and subfolders
- File names, types, and icons
- Action buttons like Download, Preview, or Upload (based on permissions)
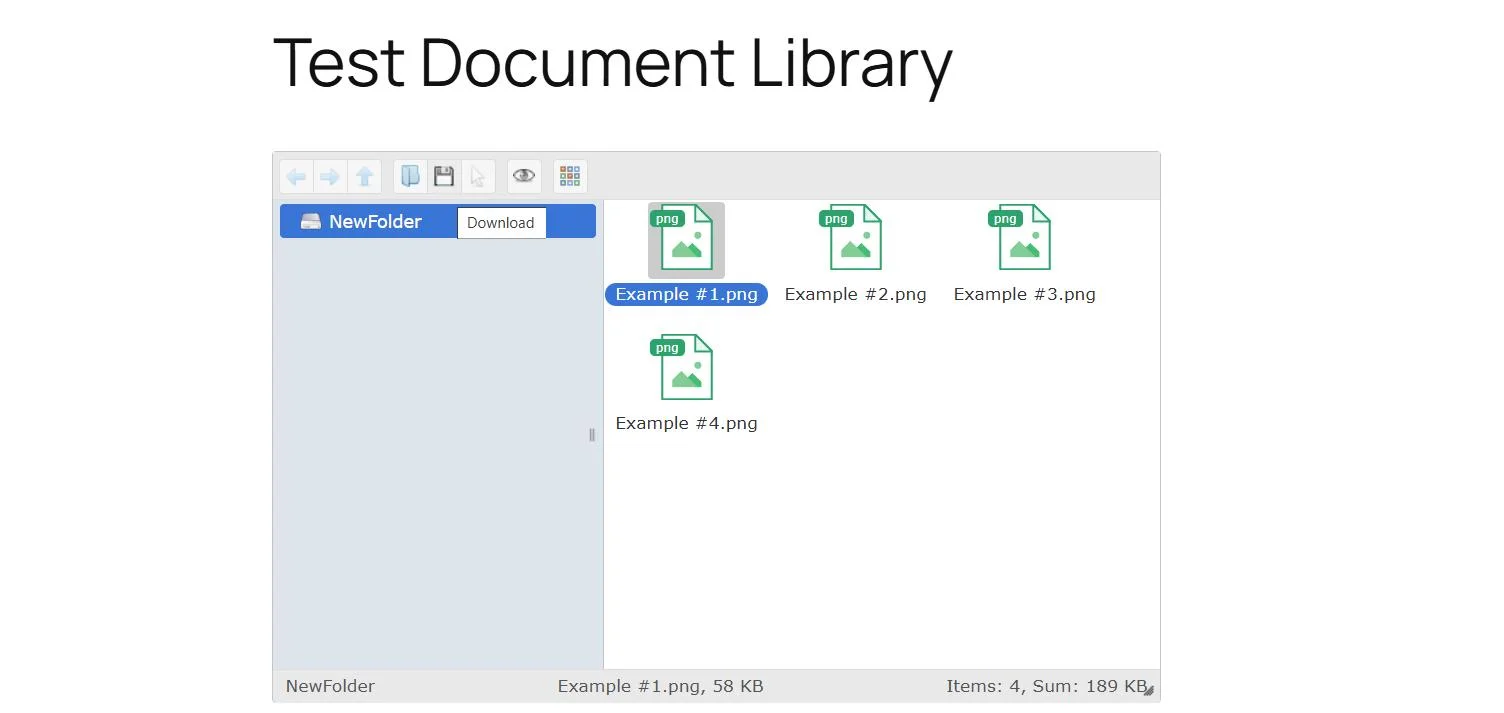
It feels like a native part of your website, not a clunky add-on or external tool.
Congratulations! You’ve just built a full-featured WordPress document library.
Pro Tips for Better Document Management
Once your document library is live, you might think you’re done. However, a few tweaks can take your setup from functional to flawless. These tips will help you stay organized, secure, and efficient as your library grows.
Organize with Folders and Categories
Don’t dump everything into one folder. Structure your library like you would your desktop:
- Create folders by topic, department, or user type.
- Use subfolders to break things down further.
- Keep file names clean and descriptive (e.g., Client-Onboarding-Checklist.pdf instead of file123.pdf).
Enable File Previews
If you regularly share PDFs, images, or videos, enable preview mode so users can open files without downloading them.
This improves:
- User experience
- Load time
- Engagement (especially for documents like newsletters or visual reports)
Set Upload Limits
Want to avoid storage bloat or random file uploads from users? Use the addon settings to:
- Limit the maximum file size per upload
- Define which file types are allowed (PDF, DOCX, XLSX, ZIP, etc.)
- Disable uploads for lower-level roles like Subscribers

Automate Folder Creation for New Users
Using $ as the file path automatically creates a private folder when someone new logs in. This is incredibly useful for:
- Online classrooms
- Coaching dashboards
- Client onboarding systems
No manual folder creation needed—it just works.
Hide the File Path
If you don’t want users to see your folder structure or file directory path, select ‘No’ for the Hide Path option in the shortcode settings. This option keeps things tidy and adds a small layer of privacy.
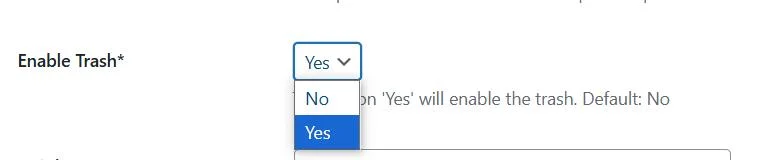
Use the Trash Feature
Instead of deleting files right away, enable the trash system so users can recover accidentally deleted files. This simple setting can be a lifesaver when something important is removed by mistake.
Advanced File Manager Makes WordPress Document Library Creation a Breeze!
Creating a document library in WordPress doesn’t have to be complicated or technical. With the Advanced File Manager plugin, you can build a fully interactive, secure, and customizable file management system from your WordPress dashboard.
From uploading documents and setting access rules to embedding a user-friendly frontend interface, everything can be done in just a few clicks. You don’t need to write code or mess with server files.
Here’s a quick recap of what you’ve accomplished:
- Installed the Advanced File Manager plugin
- Activated the Shortcode Addon for frontend access
- Created a custom document library tailored to your audience
- Controlled who can view, upload, or download files
- Embedded the library using a block or shortcode—your choice
And the best part? You can scale this up as your site grows. Add more shortcodes, assign different roles, or create private folders for individual users. It’s flexible enough for small teams and powerful enough for large organizations.
Frequently Asked Questions
Can I allow only logged-in users to access the document library?
Yes! When creating your shortcode, you can limit access by selecting specific user roles like Subscriber, Editor, or Administrator. You can even assign private folders using the $ variable to show user-specific directories.
Is the frontend document library mobile-friendly?
Absolutely. Whether your users are on phones, tablets, or desktops, the document library layout adjusts automatically for a clean, usable experience across all screen sizes.
Can I upload large files?
Yes, but it depends on your hosting settings. You can set file size limits within the plugin, but make sure your server’s upload_max_filesize setting in PHP matches your needs. Also, you can integrate all popular cloud storage services as well, such as Google Drive, OneDrive, Dropbox, etc.
What file types are supported?
The plugin supports most common file types like PDF, DOCX, XLSX, JPG, PNG, ZIP, and more. You can customize the list in your shortcode settings to allow or restrict certain formats.
How can I hide file paths from users?
In the shortcode settings, simply select ‘Yes’ for the “Hide Path” option. This removes the directory structure from view, creating a cleaner and more private display.
Can each user have their own private folder?
Yes. Just use $ in the Path field of the shortcode. This dynamically generates and displays a private folder for each logged-in user.